Step 1:
Create an instant form from your Facebook page, Meta Business Suite or Meta Ads Manager
- Log in to the Facebook business page.
- Click the Meta Business Suite.
- Click All tools.
- Click Instant Forms.
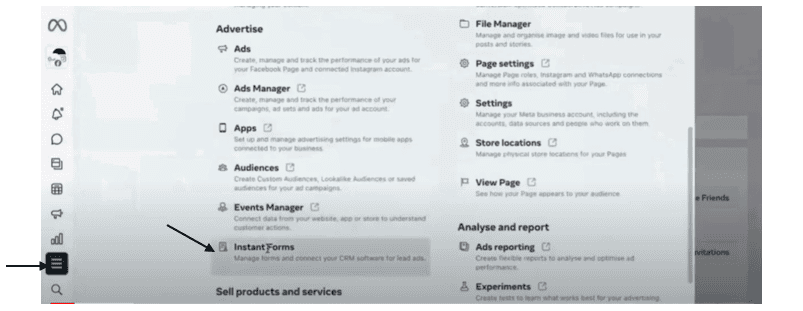
- To create New Form, Click Create Form on top right.

The create form popup will appear on the screen.
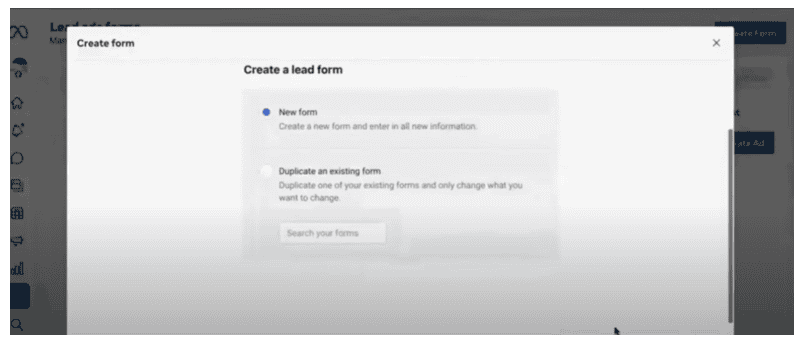
- If you want to create a new form, select the new form option. If we want to use the existing form then, select the Duplicate an existing form option. Click Next.
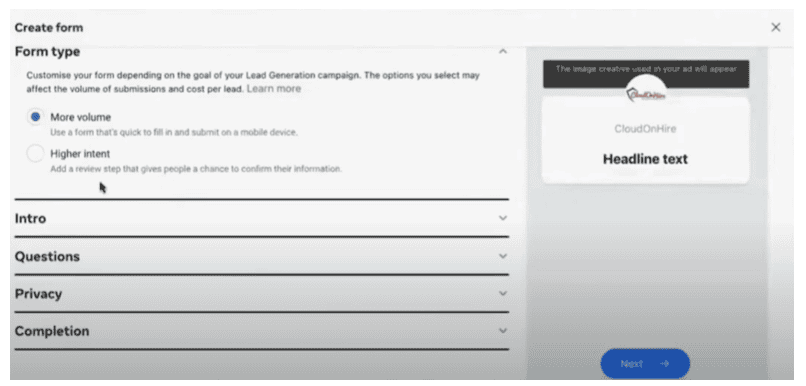
- In the Form type box, select the type of instant form you want.
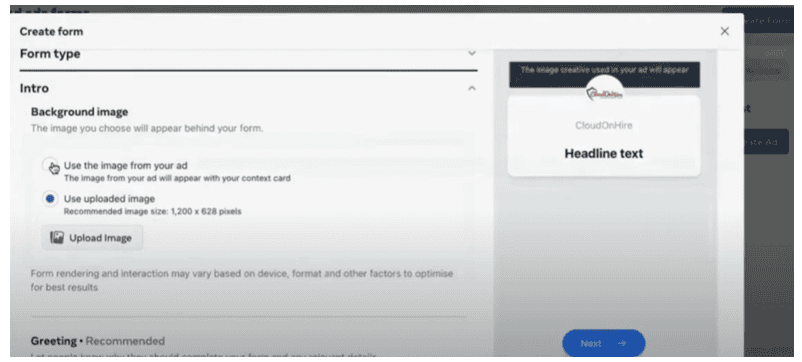
- To add an introduction, click the Intro section.
- You can upload background image for the ads and e explain about the product / service details.
- If you want to get answers to some questions from the customer, then add questions by Clicking the Questions section.
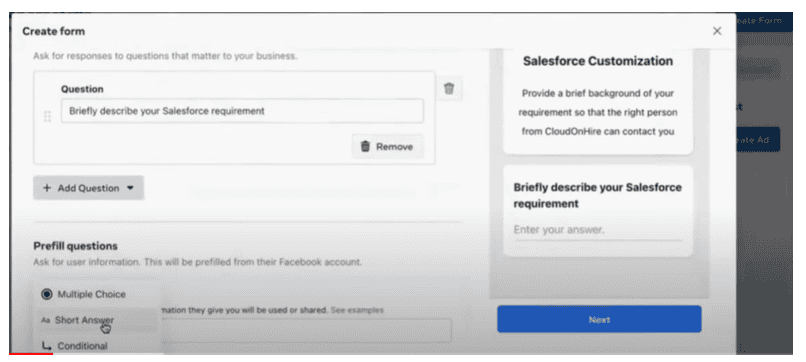
- You can add up to 15 questions.
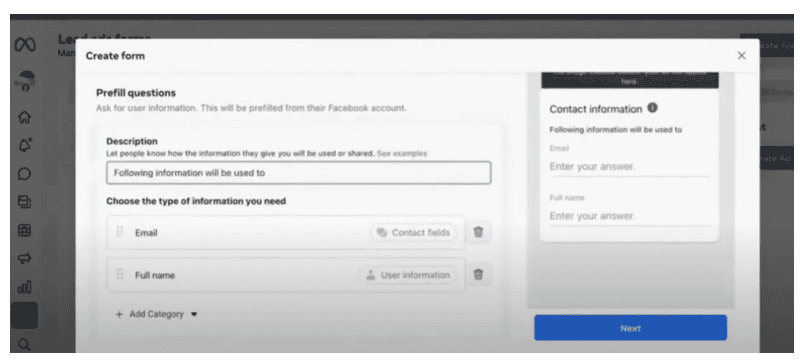
- Another section here is the Prefill questions. Here the data will be auto populated from the customer Facebook account. In this section, we need to give the Description and add the fields you want.
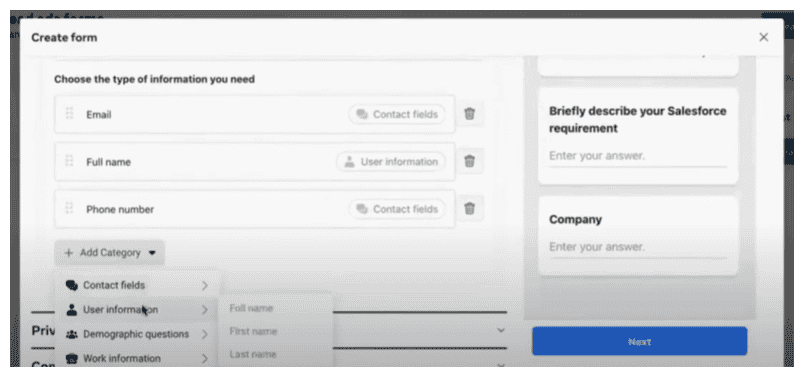
- Click Privacy and enter the URL for your privacy policy page and add the link text.
- Customer Disclaimer is another section and it is an optional.
- Click Completion section. This is used for action settings, messages to be displayed once the form is submitted.
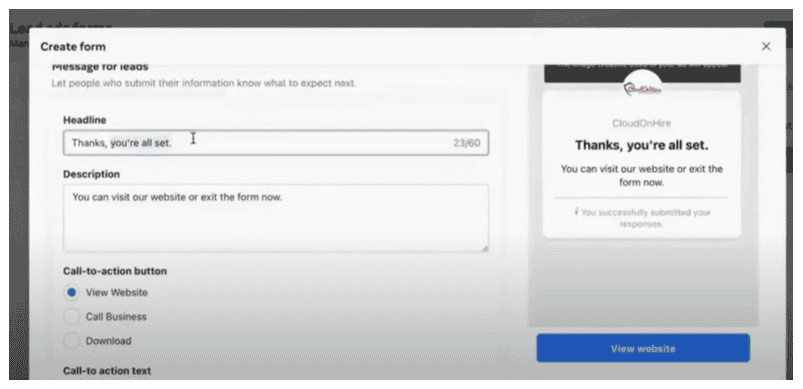
- After submitting the form, if you want to redirect the customer to your website then use the view website option and give the site address in the call to action link.
- To preview each section of the form, click Form Preview.
- Once done, Click Create Form.
Now the form is created.
Step 2:
Create Ads
- Select the form from the Lead ads forms.
- Click Create Ads button.
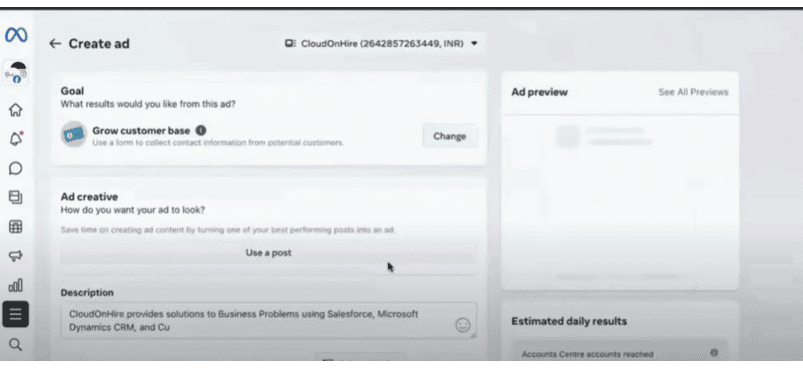
- Fill the necessary information like Description, Media, Head Line, Audience.
- Select the Audience that matches the business.
- Schedule the Ads duration.
- Placements section tells that your add will appear in Instagram, Messenger, Facebook. You can select one or more options.
- Payment method will get the card details.
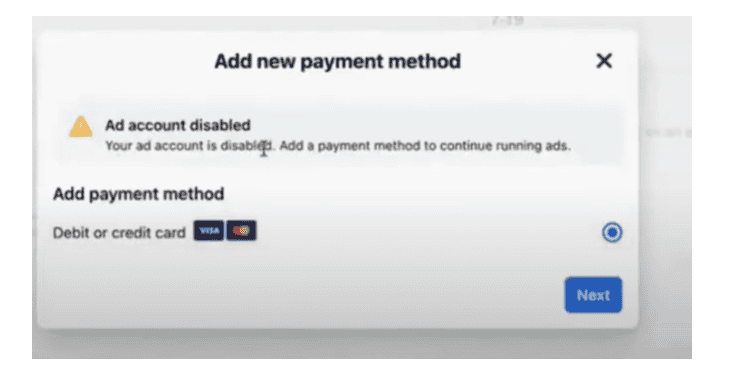
- Once everything is done, click publish to publish the Ad.
- Once the Ad is published, we can see the summary by clicking the Ads in the menu.
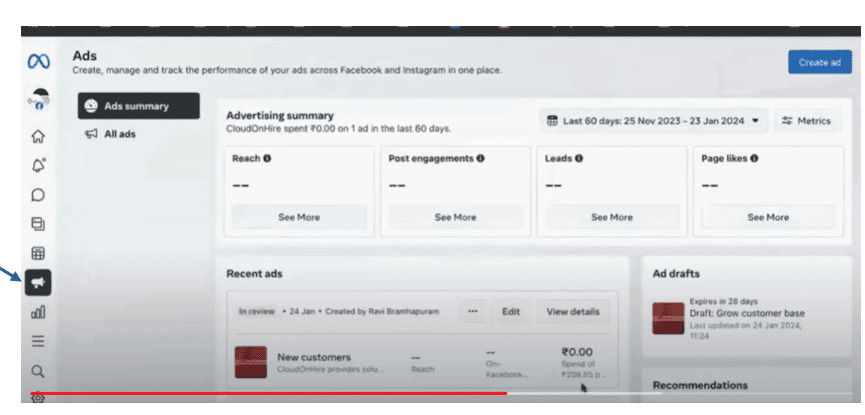
After publishing the Ads, the form status is changed to Active.
Step 3:
Salesforce setup needs to be done for getting lead from Facebook ads.
- Log Into the Salesforce org.
- In the new tab, click AppExchange and select the Lead Capture in Sales Cloud.
- Click Get It Now button.
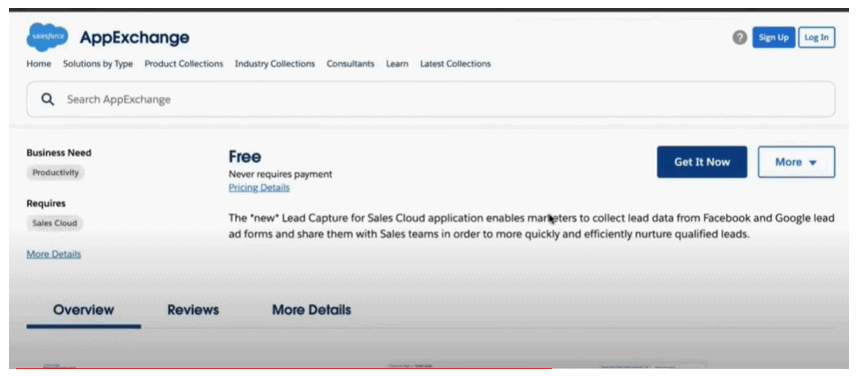
- Select Install into production/ Sandbox depending on the org chosen.
- Click Confirm to confirm the installation process.
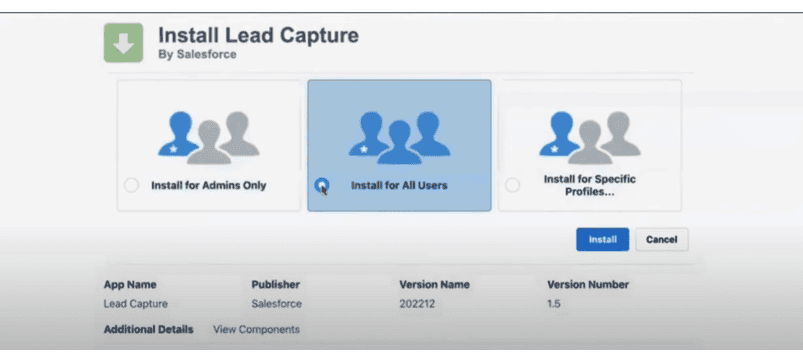
- Choose Install for All Users and click Install.
- In the salesforce org, click setup.
- In the Quick Find box, type Installed Packages.
- Check Lead Capture package is installed.
- Go to the Users and select the user.
- Click Permission Set Assignments.
- Click Edit Assignments.
- Select Salesforce Lead Capture Permission Set and Add.
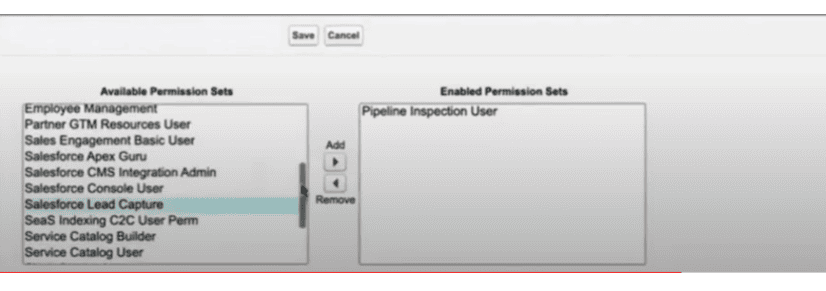
- Once the permission set is added to the user, Click the App Launcher and Select Lead Capture.
- Click New Lead Capture Task.
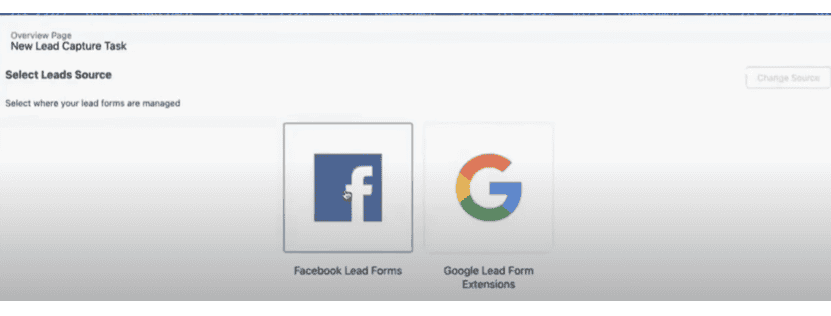
- Select Facebook Lead Forms.
- Log in to Facebook.
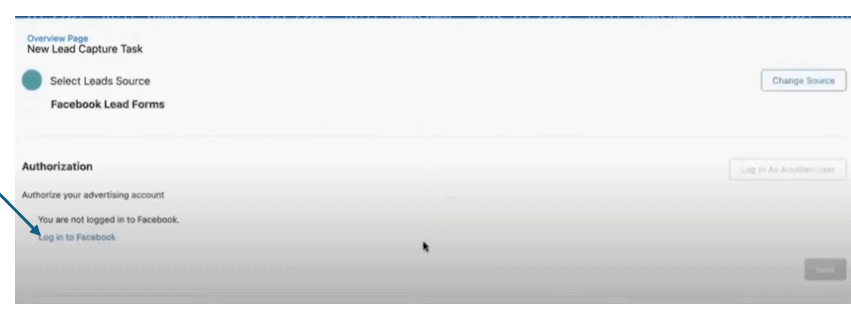
- Select the Facebook Page.
- Select the Lead Form.
- Map the Form fields with the Salesforce Lead object fields.
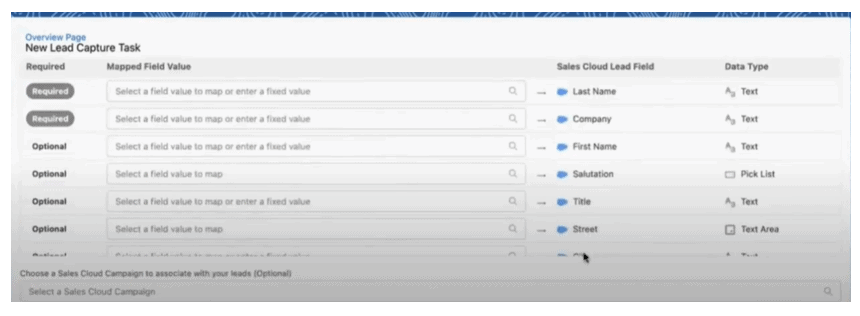
- Select the Sales Cloud Campaign.
- Click Create the Lead Capture Task. Lead Capture Task is created and now this will capture the lead from Facebook ads.
Step 4:
Test the lead creation.
- In the browser, search for Facebook Lead Ads testing tool.
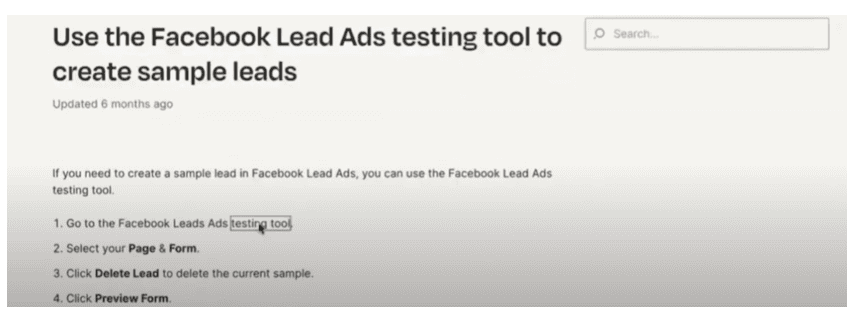
- Select the page and form.
- Click the Create lead button.
- Go to the Salesforce org and select Leads from App Launcher.
- In the Lead List view, a new Lead was created.
