Introduction
Adobe XD is a vector-based user experience design tool for web apps and mobile apps, developed and published by Adobe Inc. It is available for macOS and Windows, although there are versions for iOS and Android to help preview the result of work directly on mobile devices. XD supports website wireframing and creating simple, immersive, interactive click-through prototypes.
Features
Adobe XD creates user interfaces for mobile and web apps. Many features in XD were previously either hard to use or non-existent in other Adobe applications like Illustrator or Photoshop.
Repeat grid
It helps to create a grid of repeating items such as lists, and photo galleries.
Prototype and animation: Creates animated prototypes through linking artboards. These prototypes can be previewed on supported mobile devices.
Prototype and animation: Creates animated prototypes through linking artboards. These prototypes can be previewed on supported mobile devices.
Interoperability
XD supports and can open files from Illustrator, Photoshop, Photoshop Sketch, and After Effects. In addition to the Adobe Creative Cloud, XD can also connect to other tools and services such as Slack and Microsoft teams to collaborate. XD is also able to auto-adjust and move smoothly from macOS to Windows. For security, prototypes can be sent with password protection to ensure full disclosure.
Voice design
Apps can be designed using voice commands. In addition, what users create for smart assistants can be previewed as well.
Symbols
Users can create symbols to represent logos and buttons. Symbols can be used to drag and drop items on to artboards and organized them to be reused.
Responsive resize
Responsive resize automatically adjusts and sizes pictures and other objects on the artboards. This allows the user to have their content automatically adjusted for different screens for different sized platforms such as mobile phones and PC.
Plugins
XD is compatible with custom plugins that add additional features and uses. Plugins range from design to functionality, and automation and animation.
Wireframing
Step 1
Once you launch Adobe XD, this is how it looks.
Step 2
Select the any of the size (from the above highlighted part), which size you want to work.
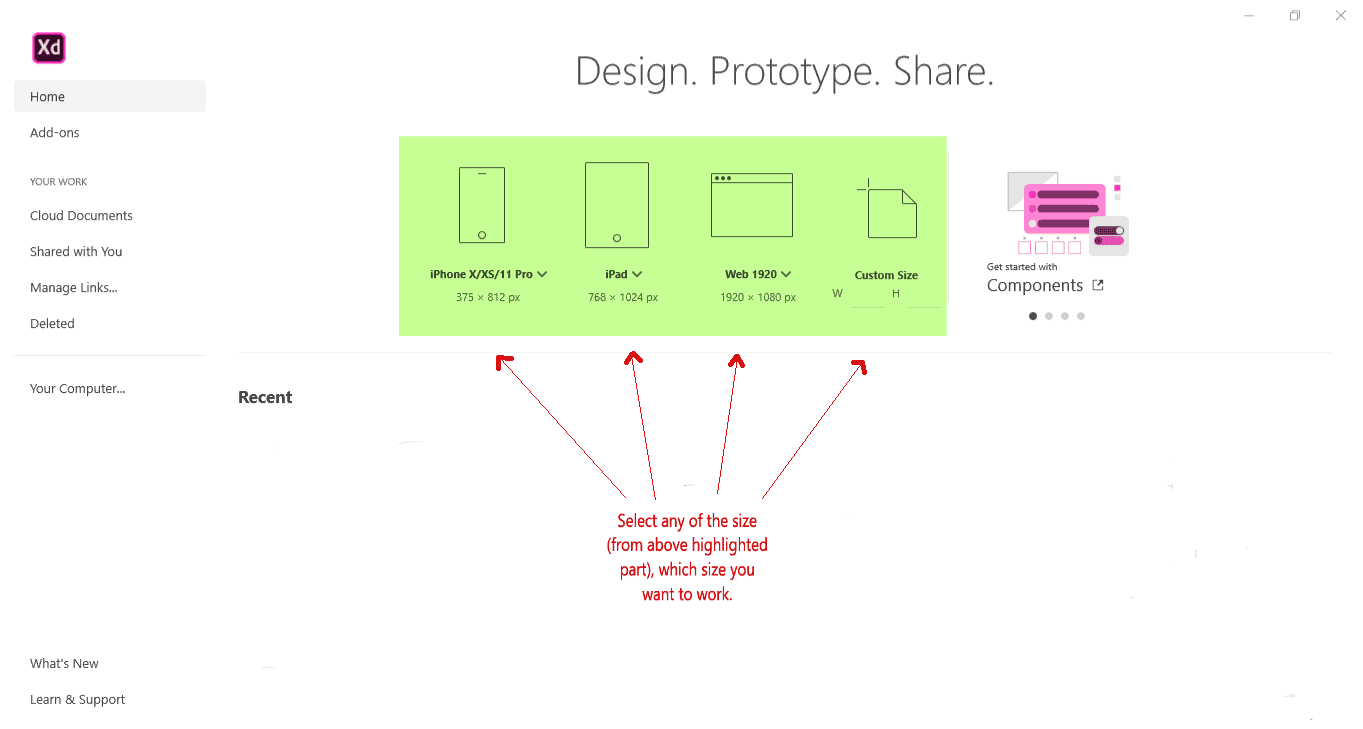
- First size is used to work for Mobile size.
- Second size is used to work for Tablet size.
- Third size is used to work for Desktop size.
- Fourth size is used to work for Custom size.
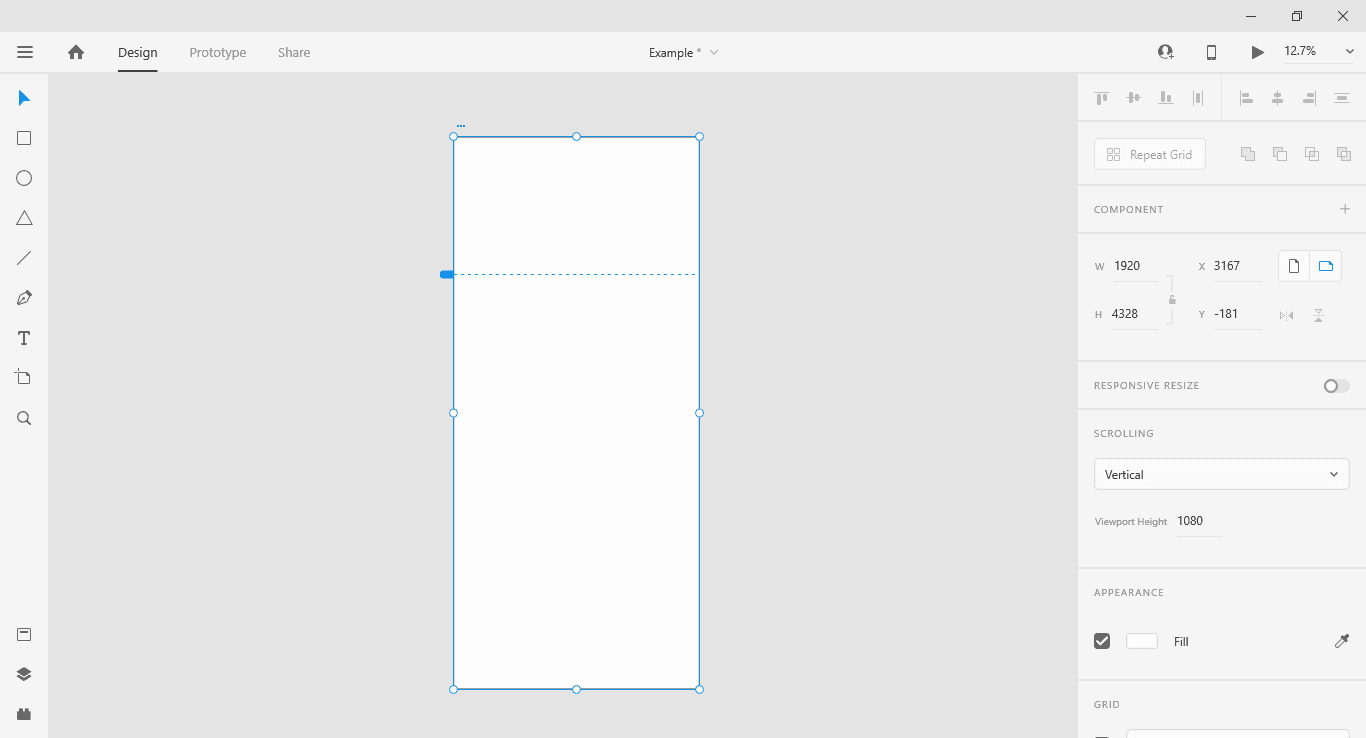
There are lot of built-in sizes available in Adobe XD. I select Web 1920 to show wireframe of desktop size.
Step 3
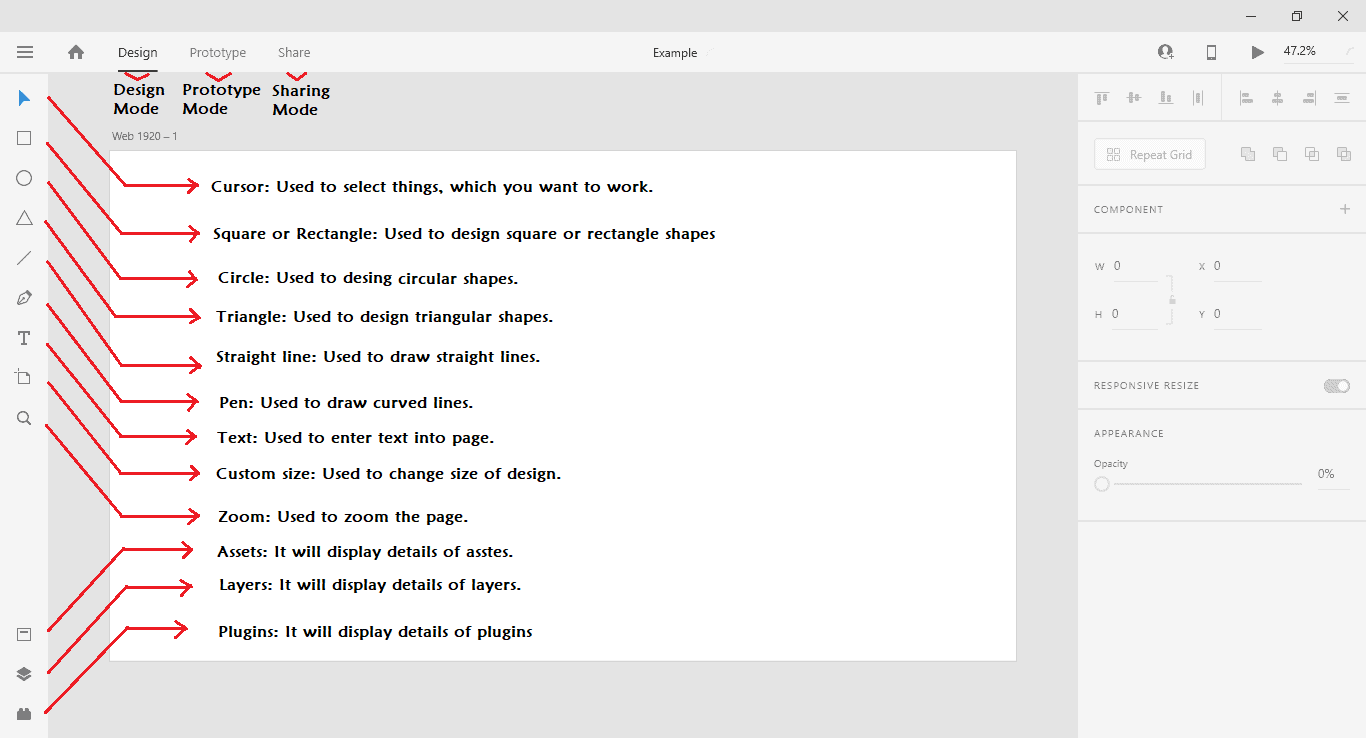
The Web 1920 looks like below image. And you can see the image below with details of tools and different modes of Adobe XD.
Step 4
Let’s start the wire of single-page website. Let’s change the size of the website by clicking on the custom_size tool. After clicking you can drag it to the size you want.
Step 5
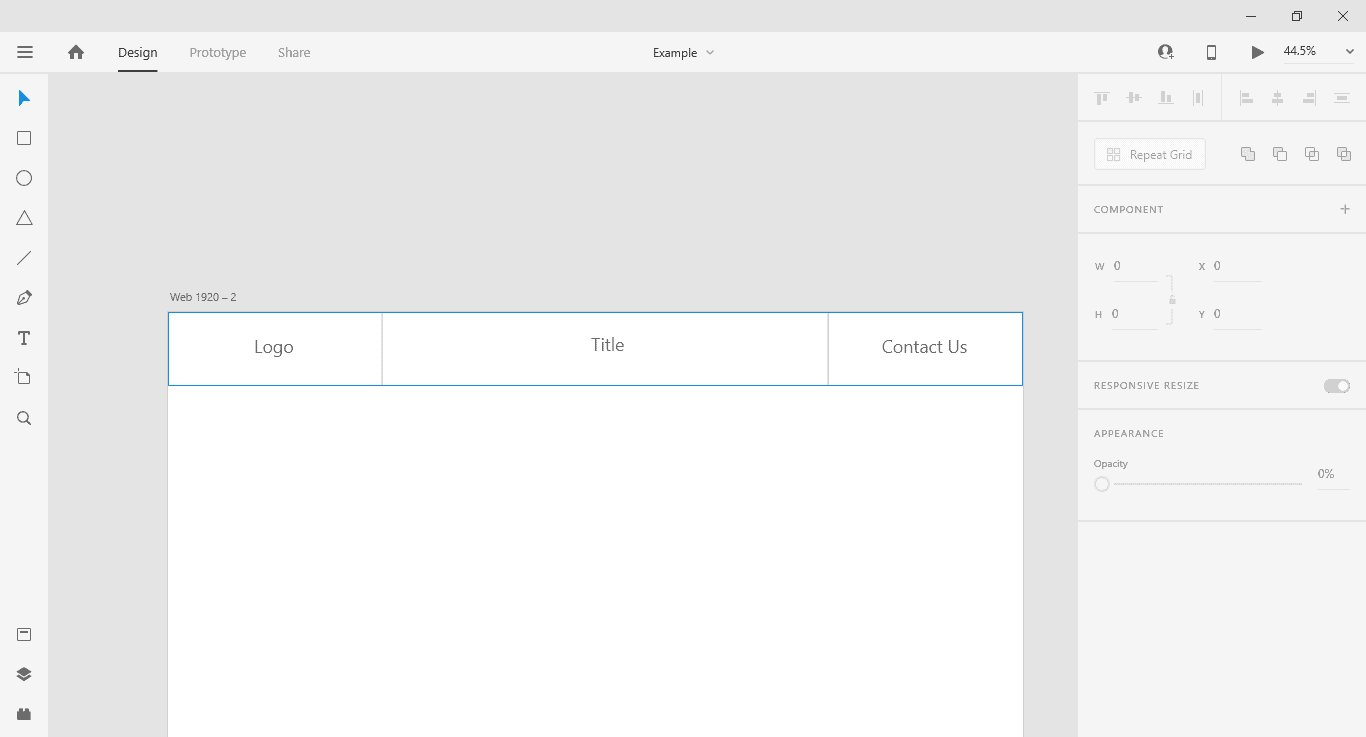
I will start with Title_bar. First, we select square_tool and draw a rectangle on top of the page and we select straight_line_tool and two straight lines so that we divide Title_bar into three sections as shown in the below image. By using Text_tool mentioned the section name.
Step 6
Here I added next section for slider by using simple square_tool and mentioned section name.
Step 7
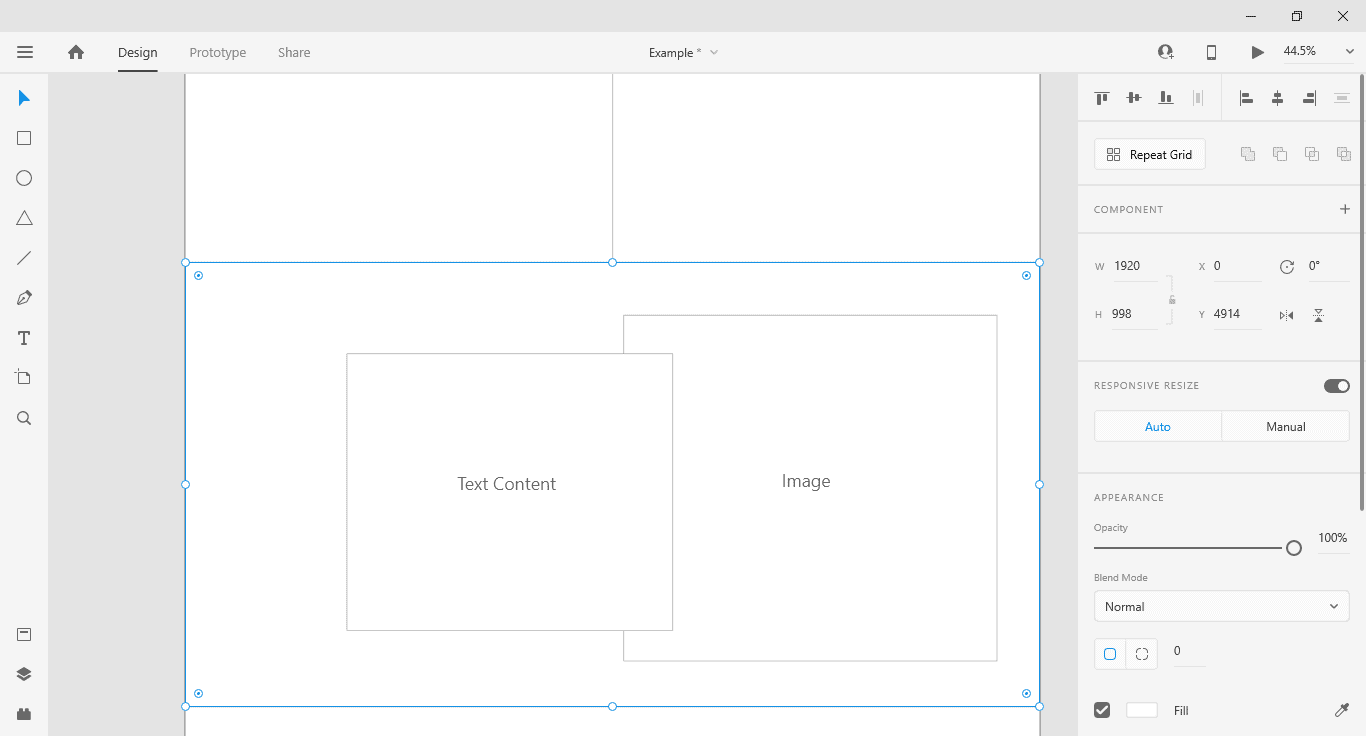
Next I added about section by dividing it into two parts by using square_tool and straight_line_tool.
Step 8
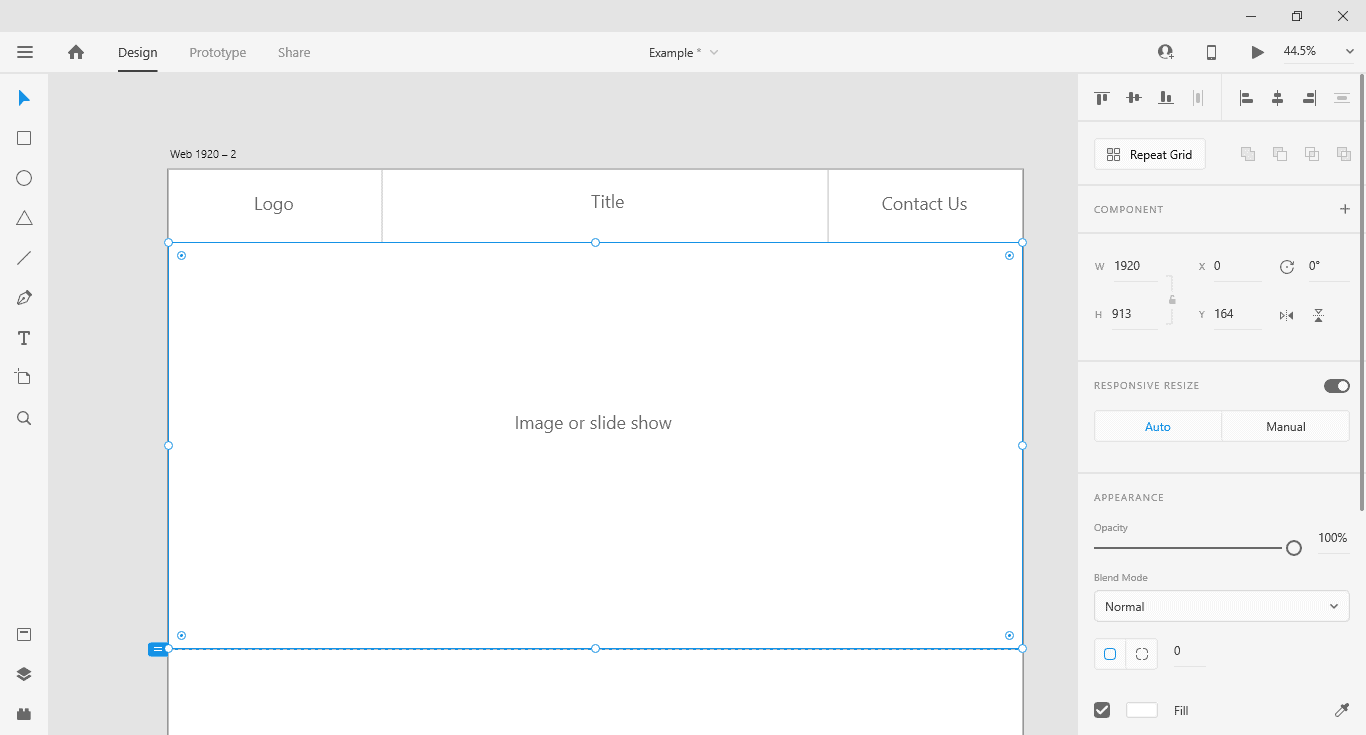
After this adding feature section using square_tool as shown in below image.
Step 9
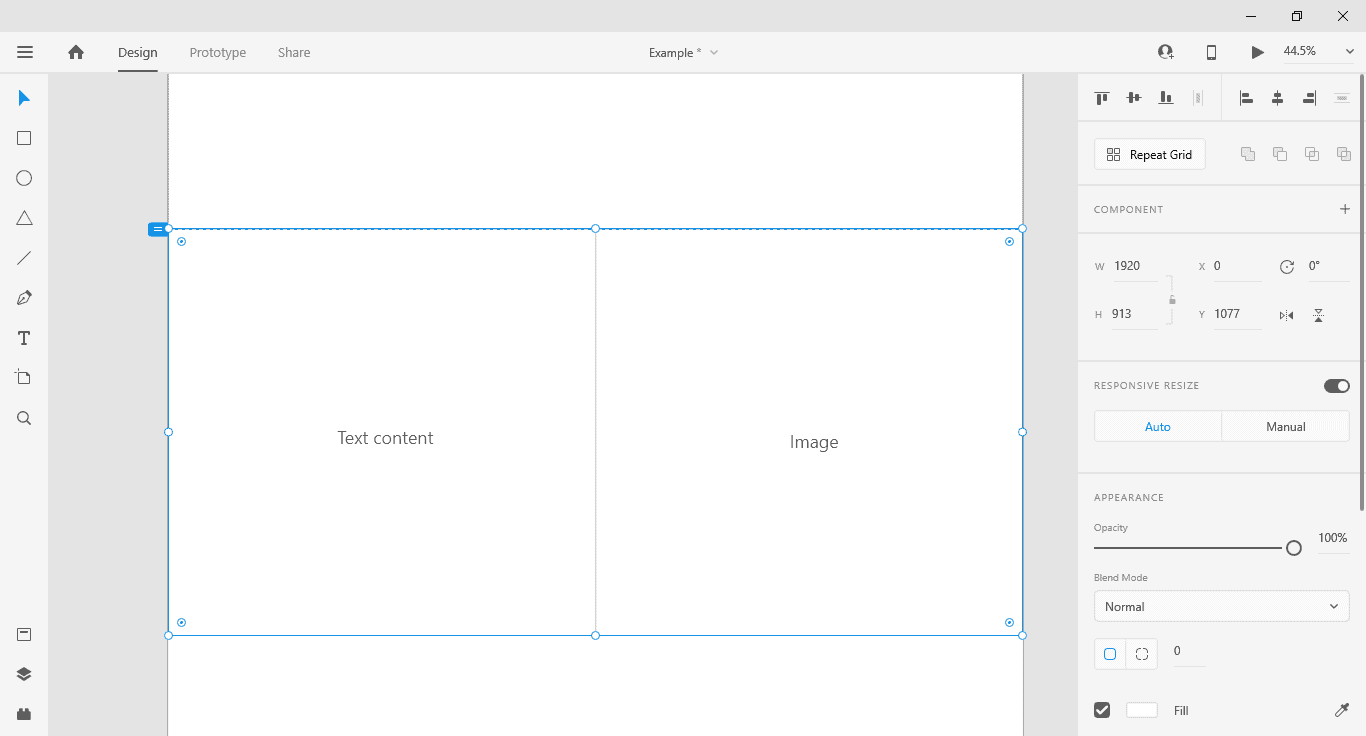
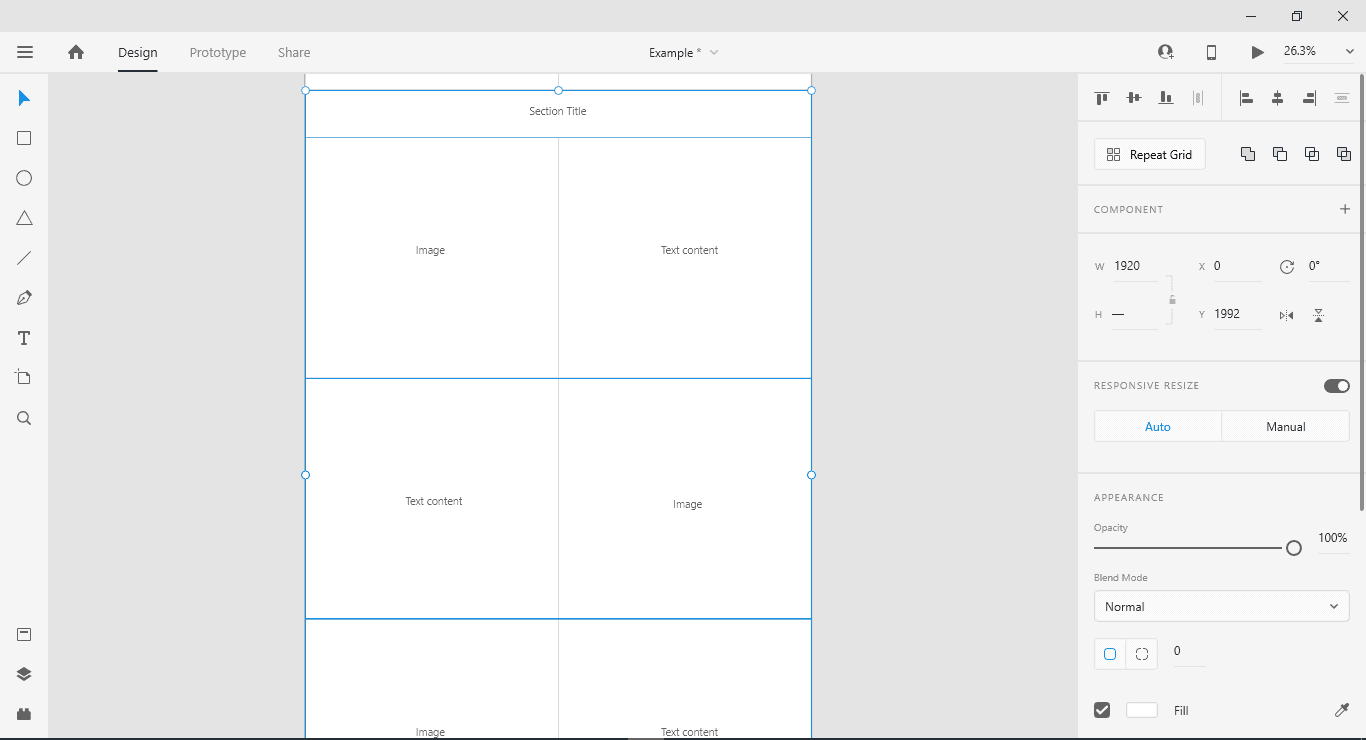
Next is adding details section using square_tool by two simple square box. One for image and another for text content.
Step 10
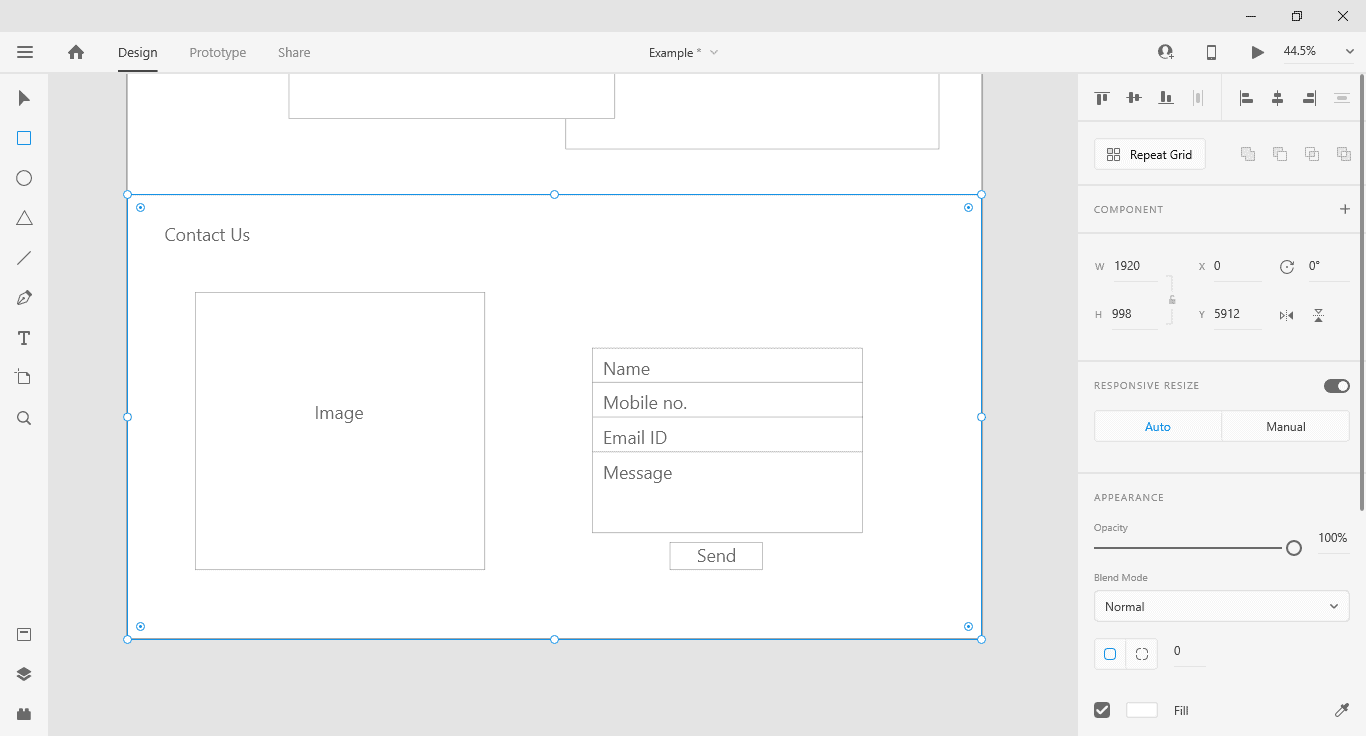
At last ContactUs section, which is done by using same square_tool. One for an image in left and another to show contact form by using small square boxes.
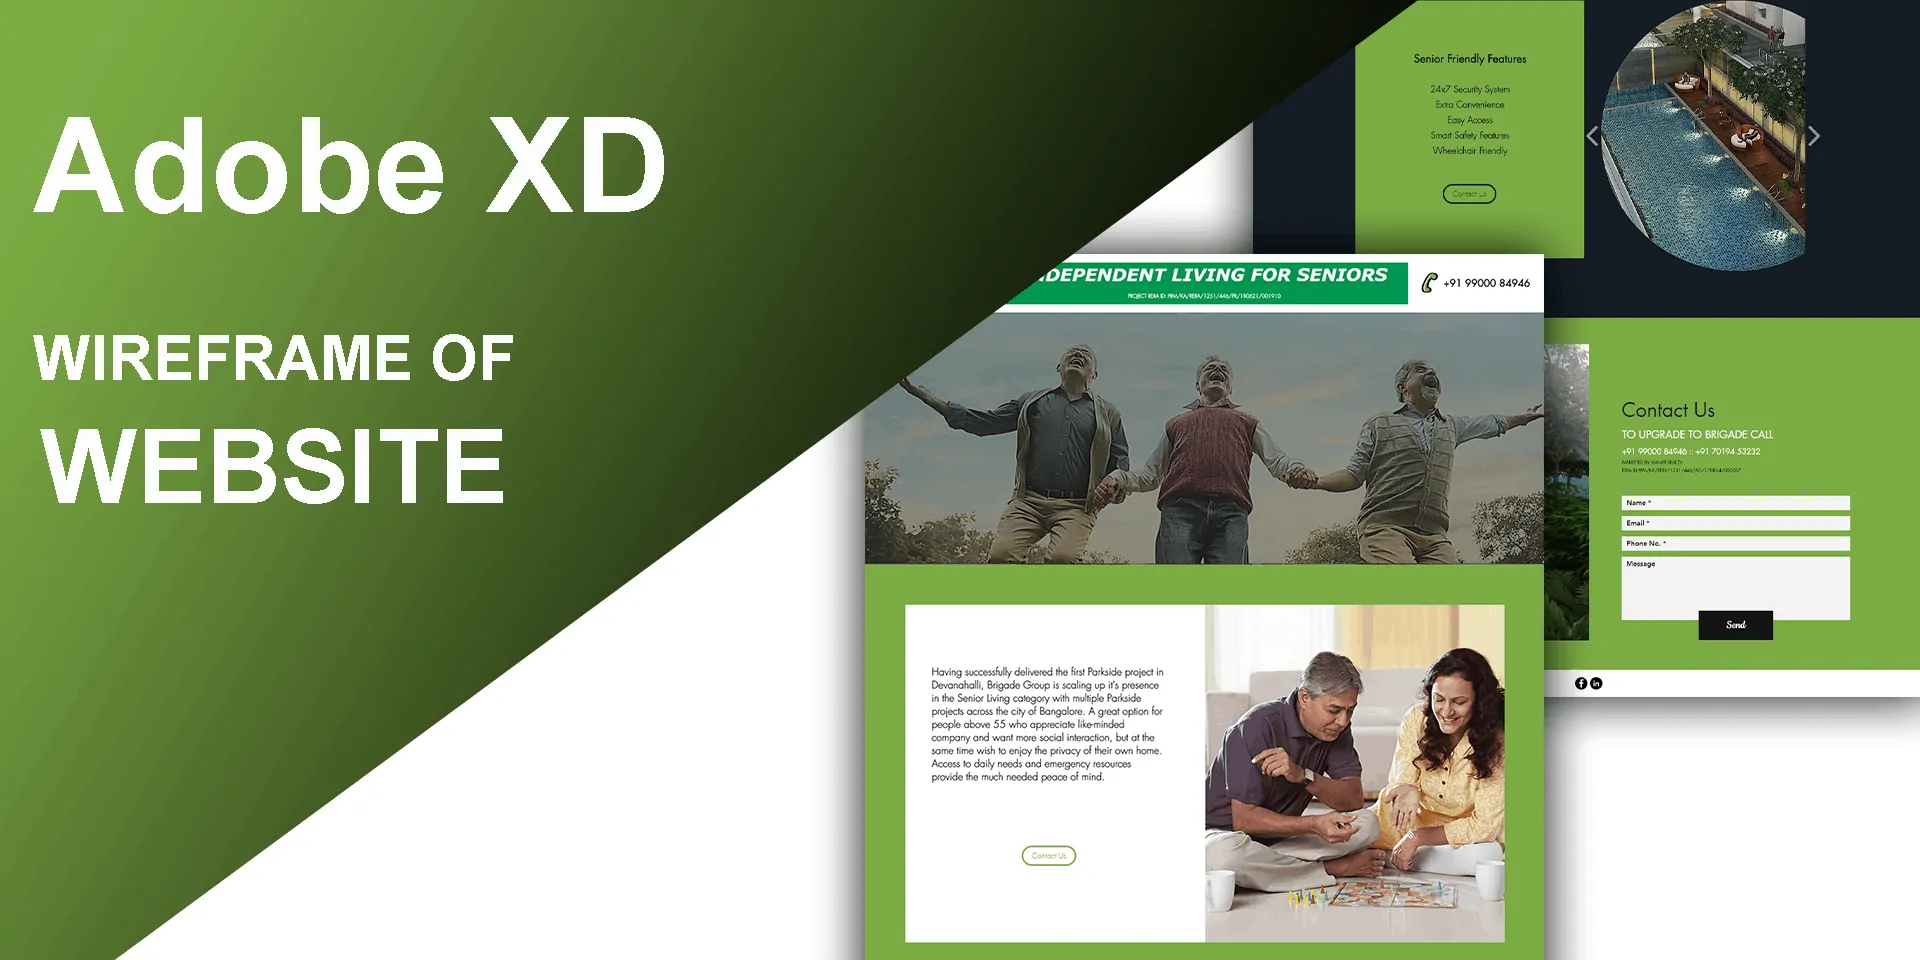
You can see the published website Independent Senior living of this mock-up.